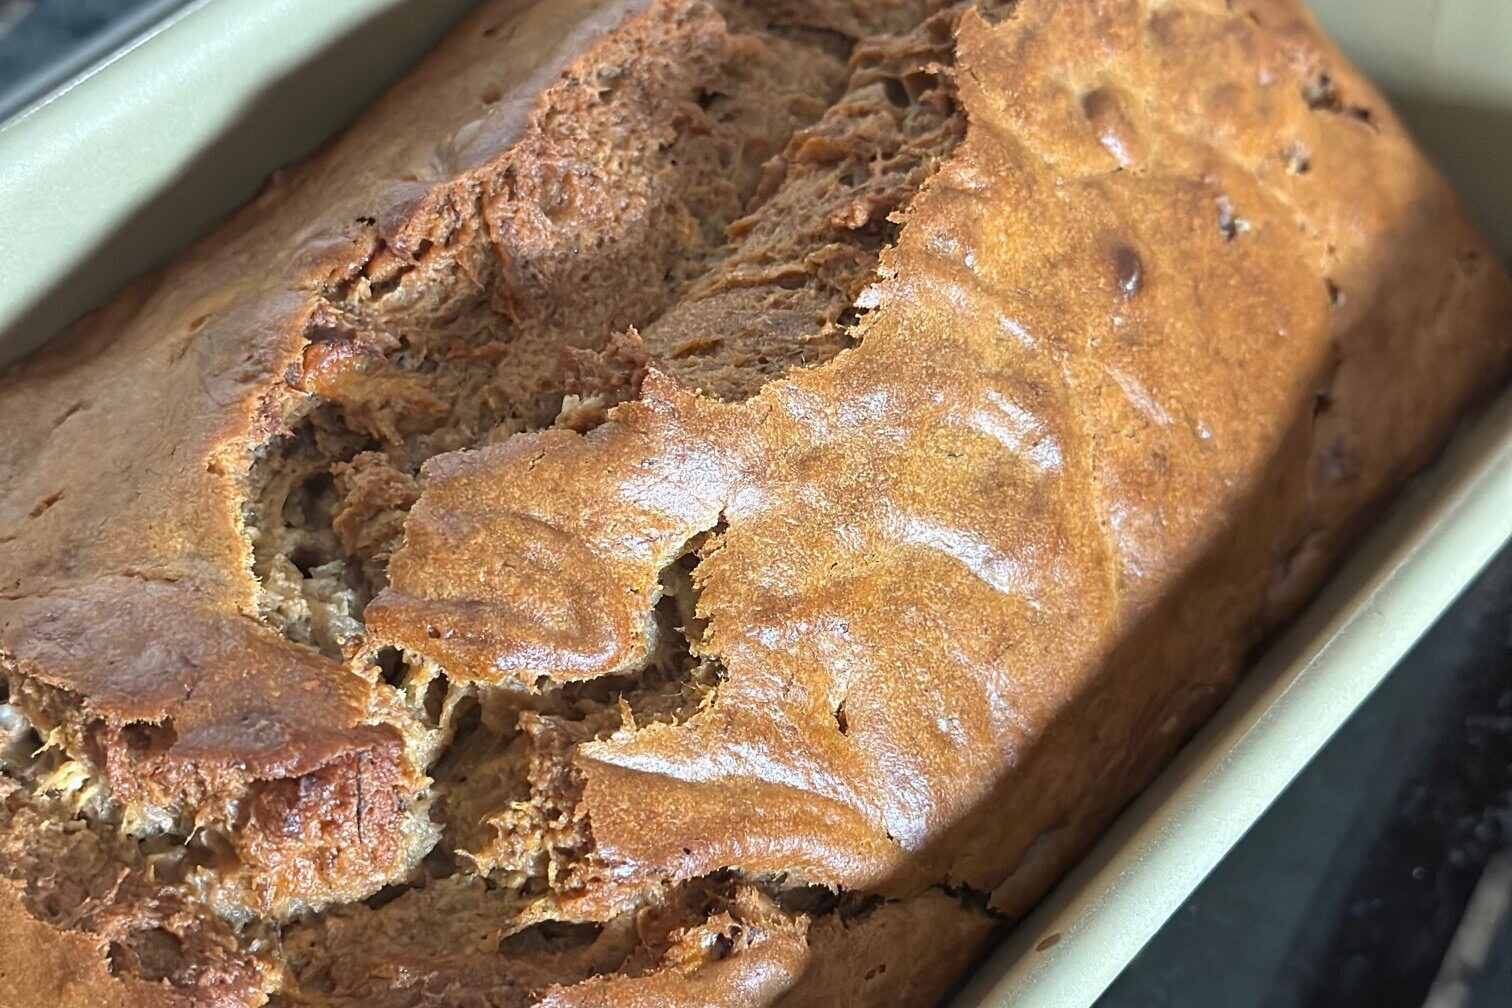
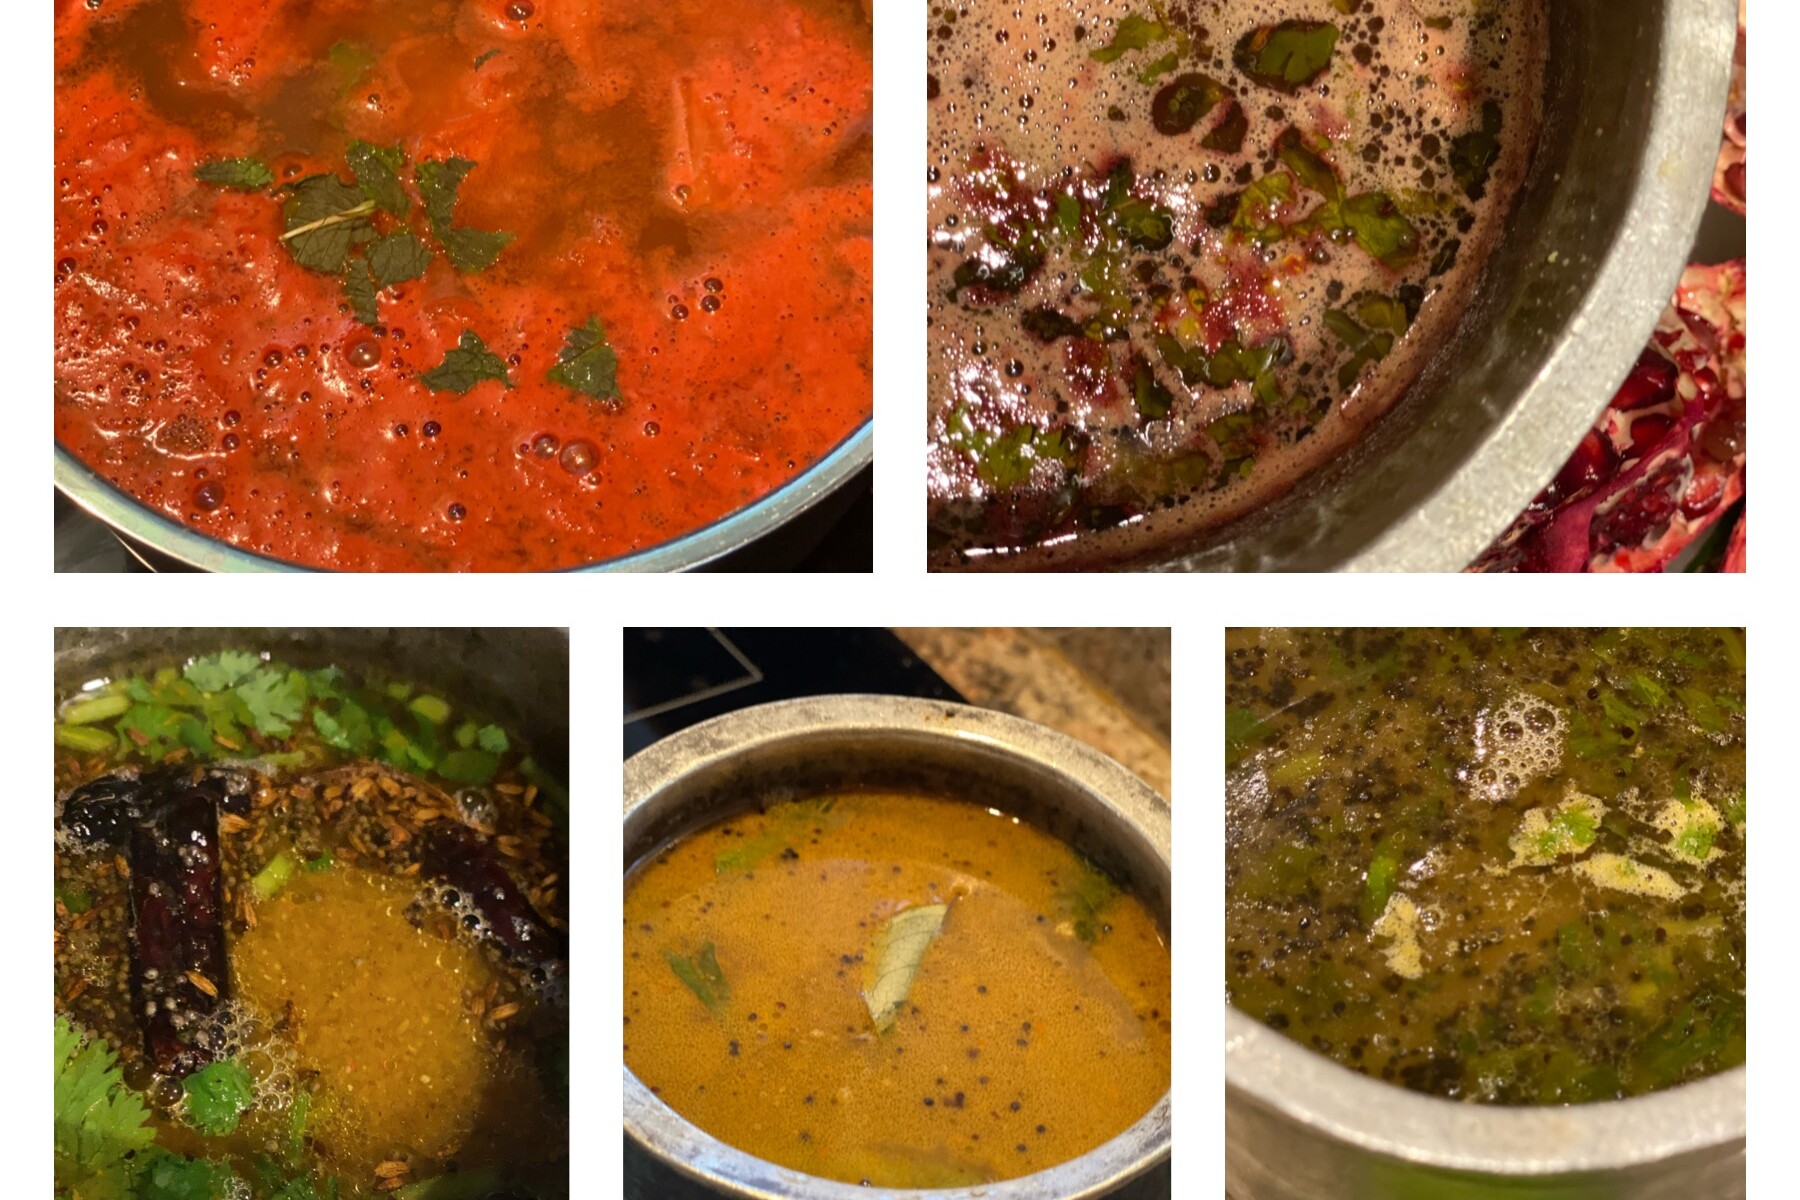
While we didn’t travel much last year, we wrapped up 2016 with a food and culture deep-dive in India—so there was no shortage of cooking and eating! With Amma home, the kitchen has been buzzing non-stop with her classic recipes. Naturally, there’s a lot to write about. But between that and everything else, I may have bitten off more than I can chew (again).
Juggling two—almost three—part-time gigs has me gasping for air between school runs, teaching, strategy sessions, and project management. Is it worth it? I’m not sure yet. Everything feels like a blur, and I suspect I’ll need to pause soon and choose what truly sparks joy. Perhaps it’s all just a way to cope with the uncertainty, but ironically, it’s left me feeling even more unsettled. The cycle continues.
On a brighter note, I dove into a new culinary adventure this past year: One Pot One Shot (OPOS) cooking. Created by food innovator and engineer Ramakrishnan, OPOS transforms traditional recipes using the humble pressure cooker. From classic dishes to experimental flavors, everything is cooked fast, efficiently, and in one go. I joined the Facebook group (thanks to my friend Uma) and have been trying these quick hacks with Amma.
This paneer recipe is one of those experiments—and it’s a game-changer. I used to avoid making paneer from scratch because of the multiple steps: boiling, curdling, straining, setting. But once you’ve tasted homemade paneer, it’s hard to go back to the store-bought stuff.
This OPOS method simplifies it further. You still need a bit of patience to set it, but you get soft, curdled paneer in just 6 minutes!
6-Minute Homemade Paneer Recipe

Ingredients:
- 1 liter whole milk
- ½ cup plain yogurt
Method:
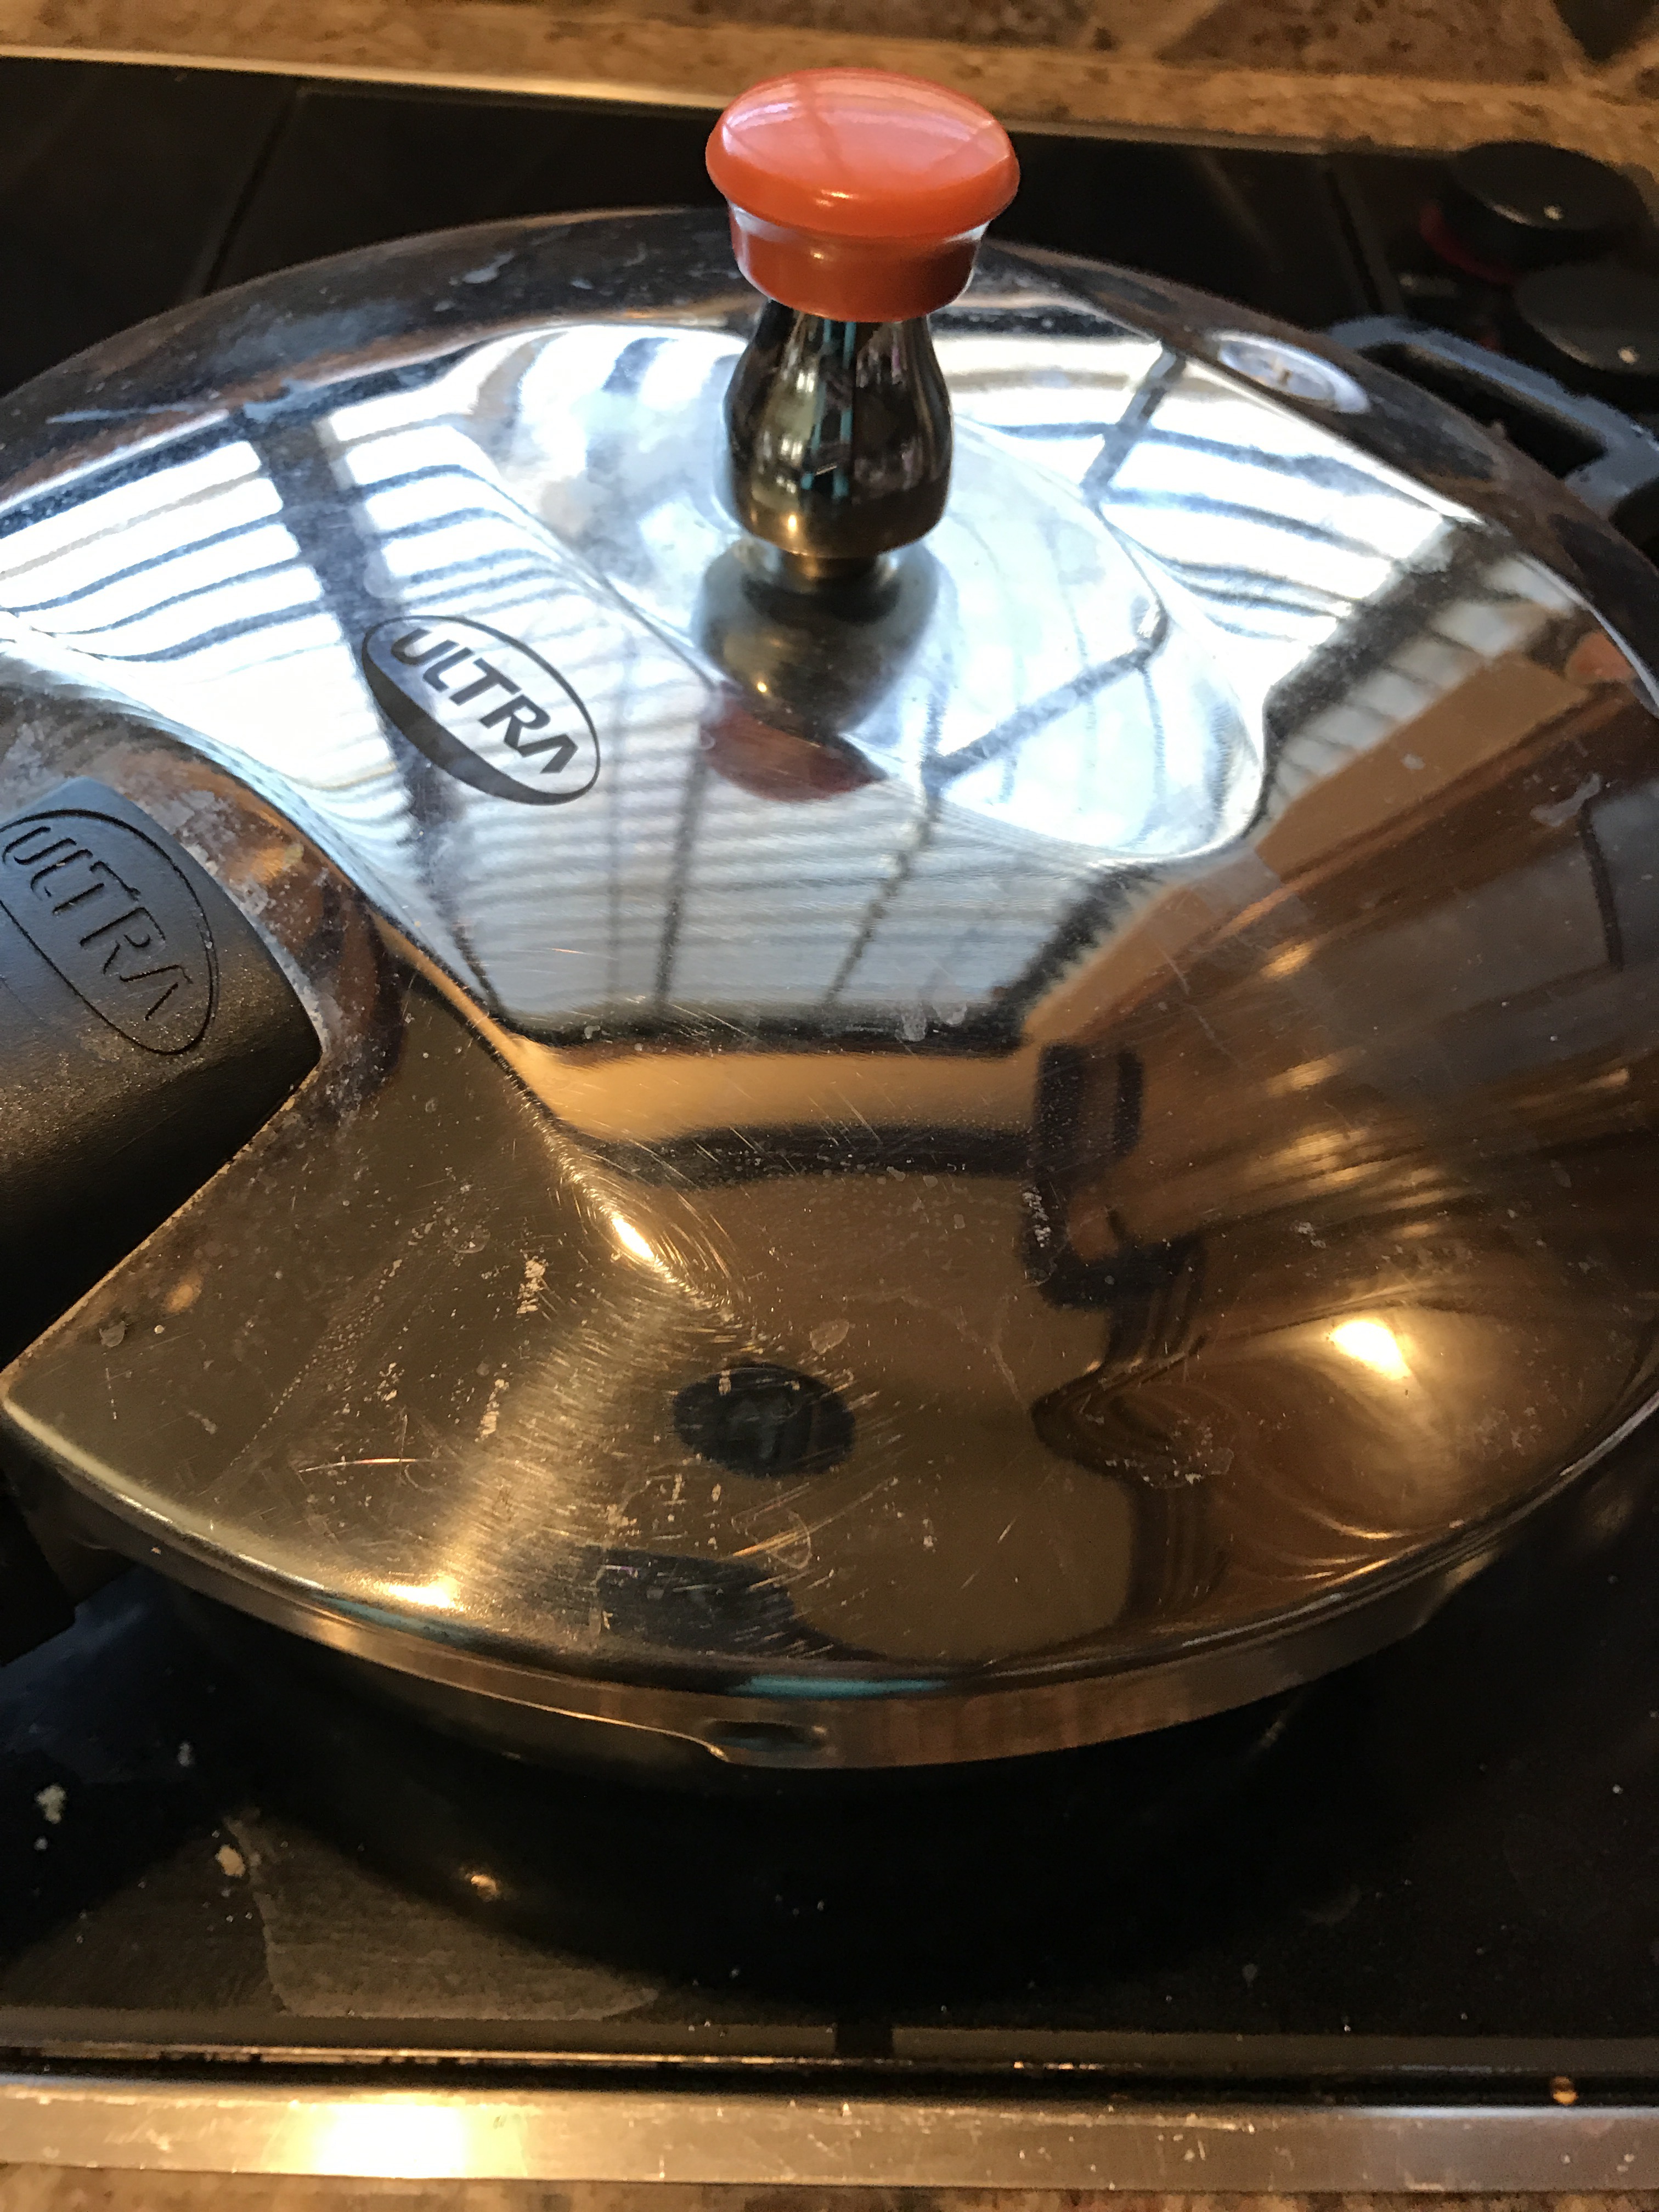
Use the right pressure cooker:
Pour 1 liter of whole milk into a 2L or 3L pressure cooker. (Don’t use a larger one—it’ll affect timing.)
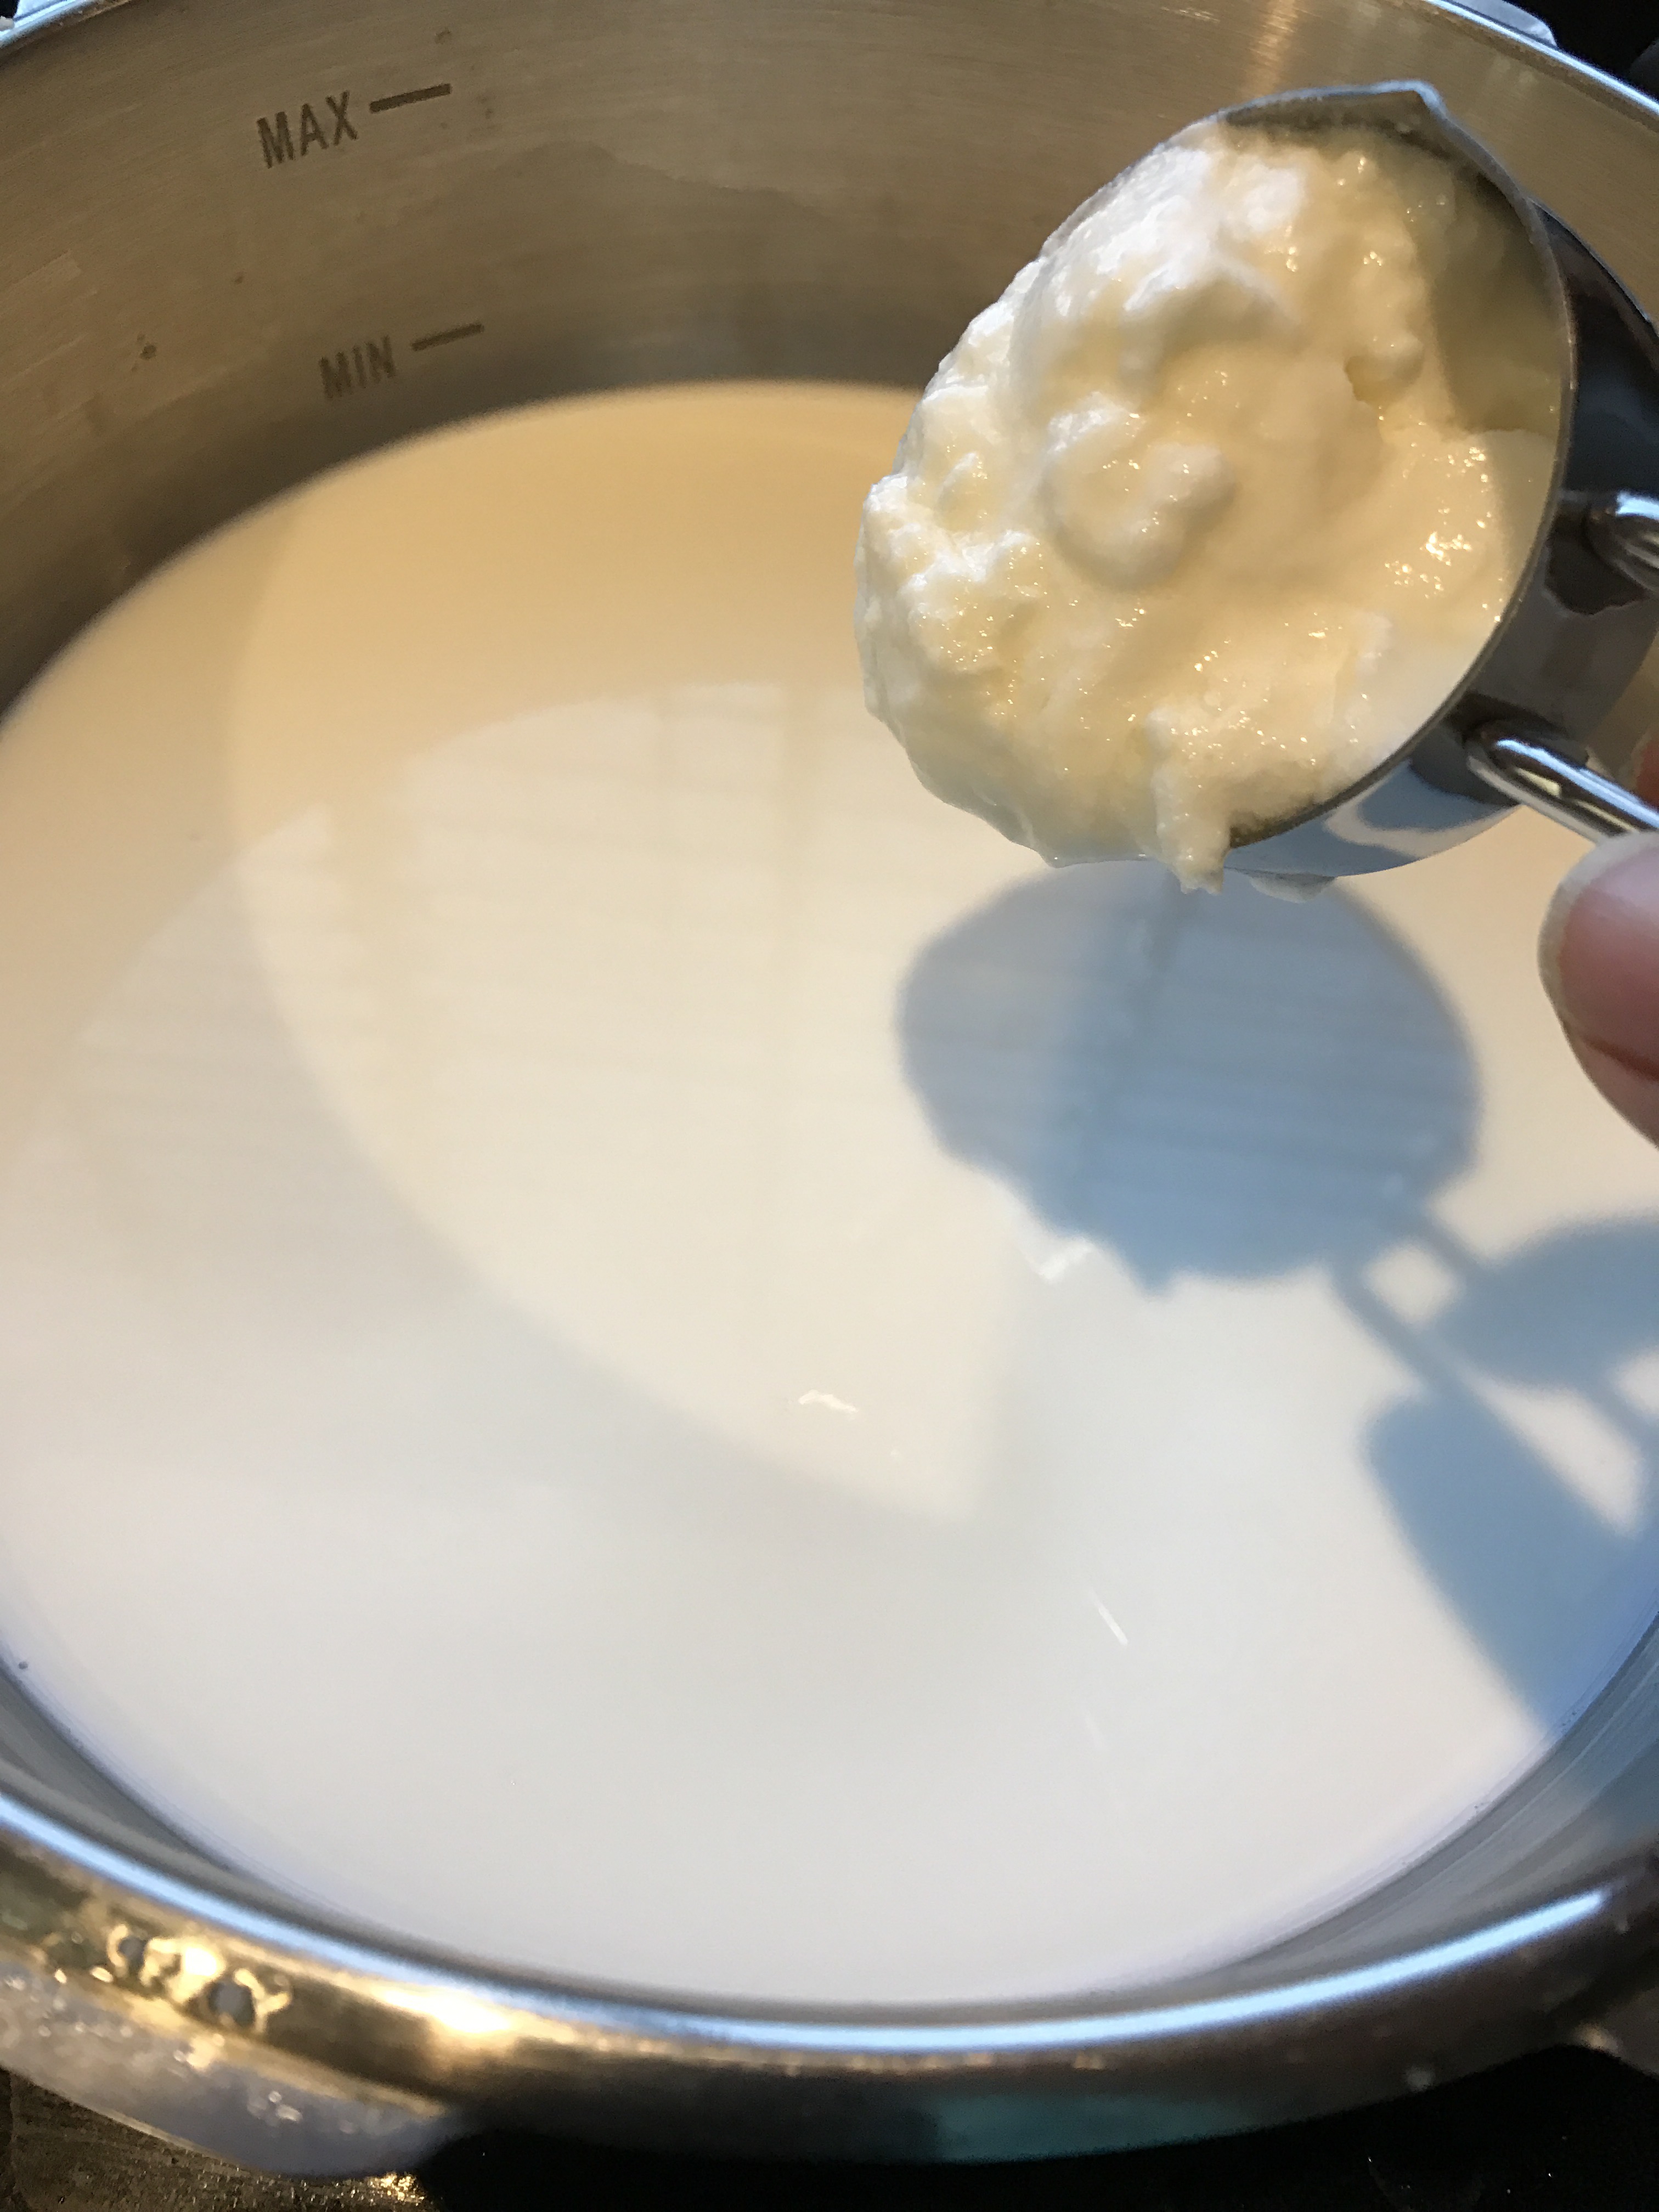
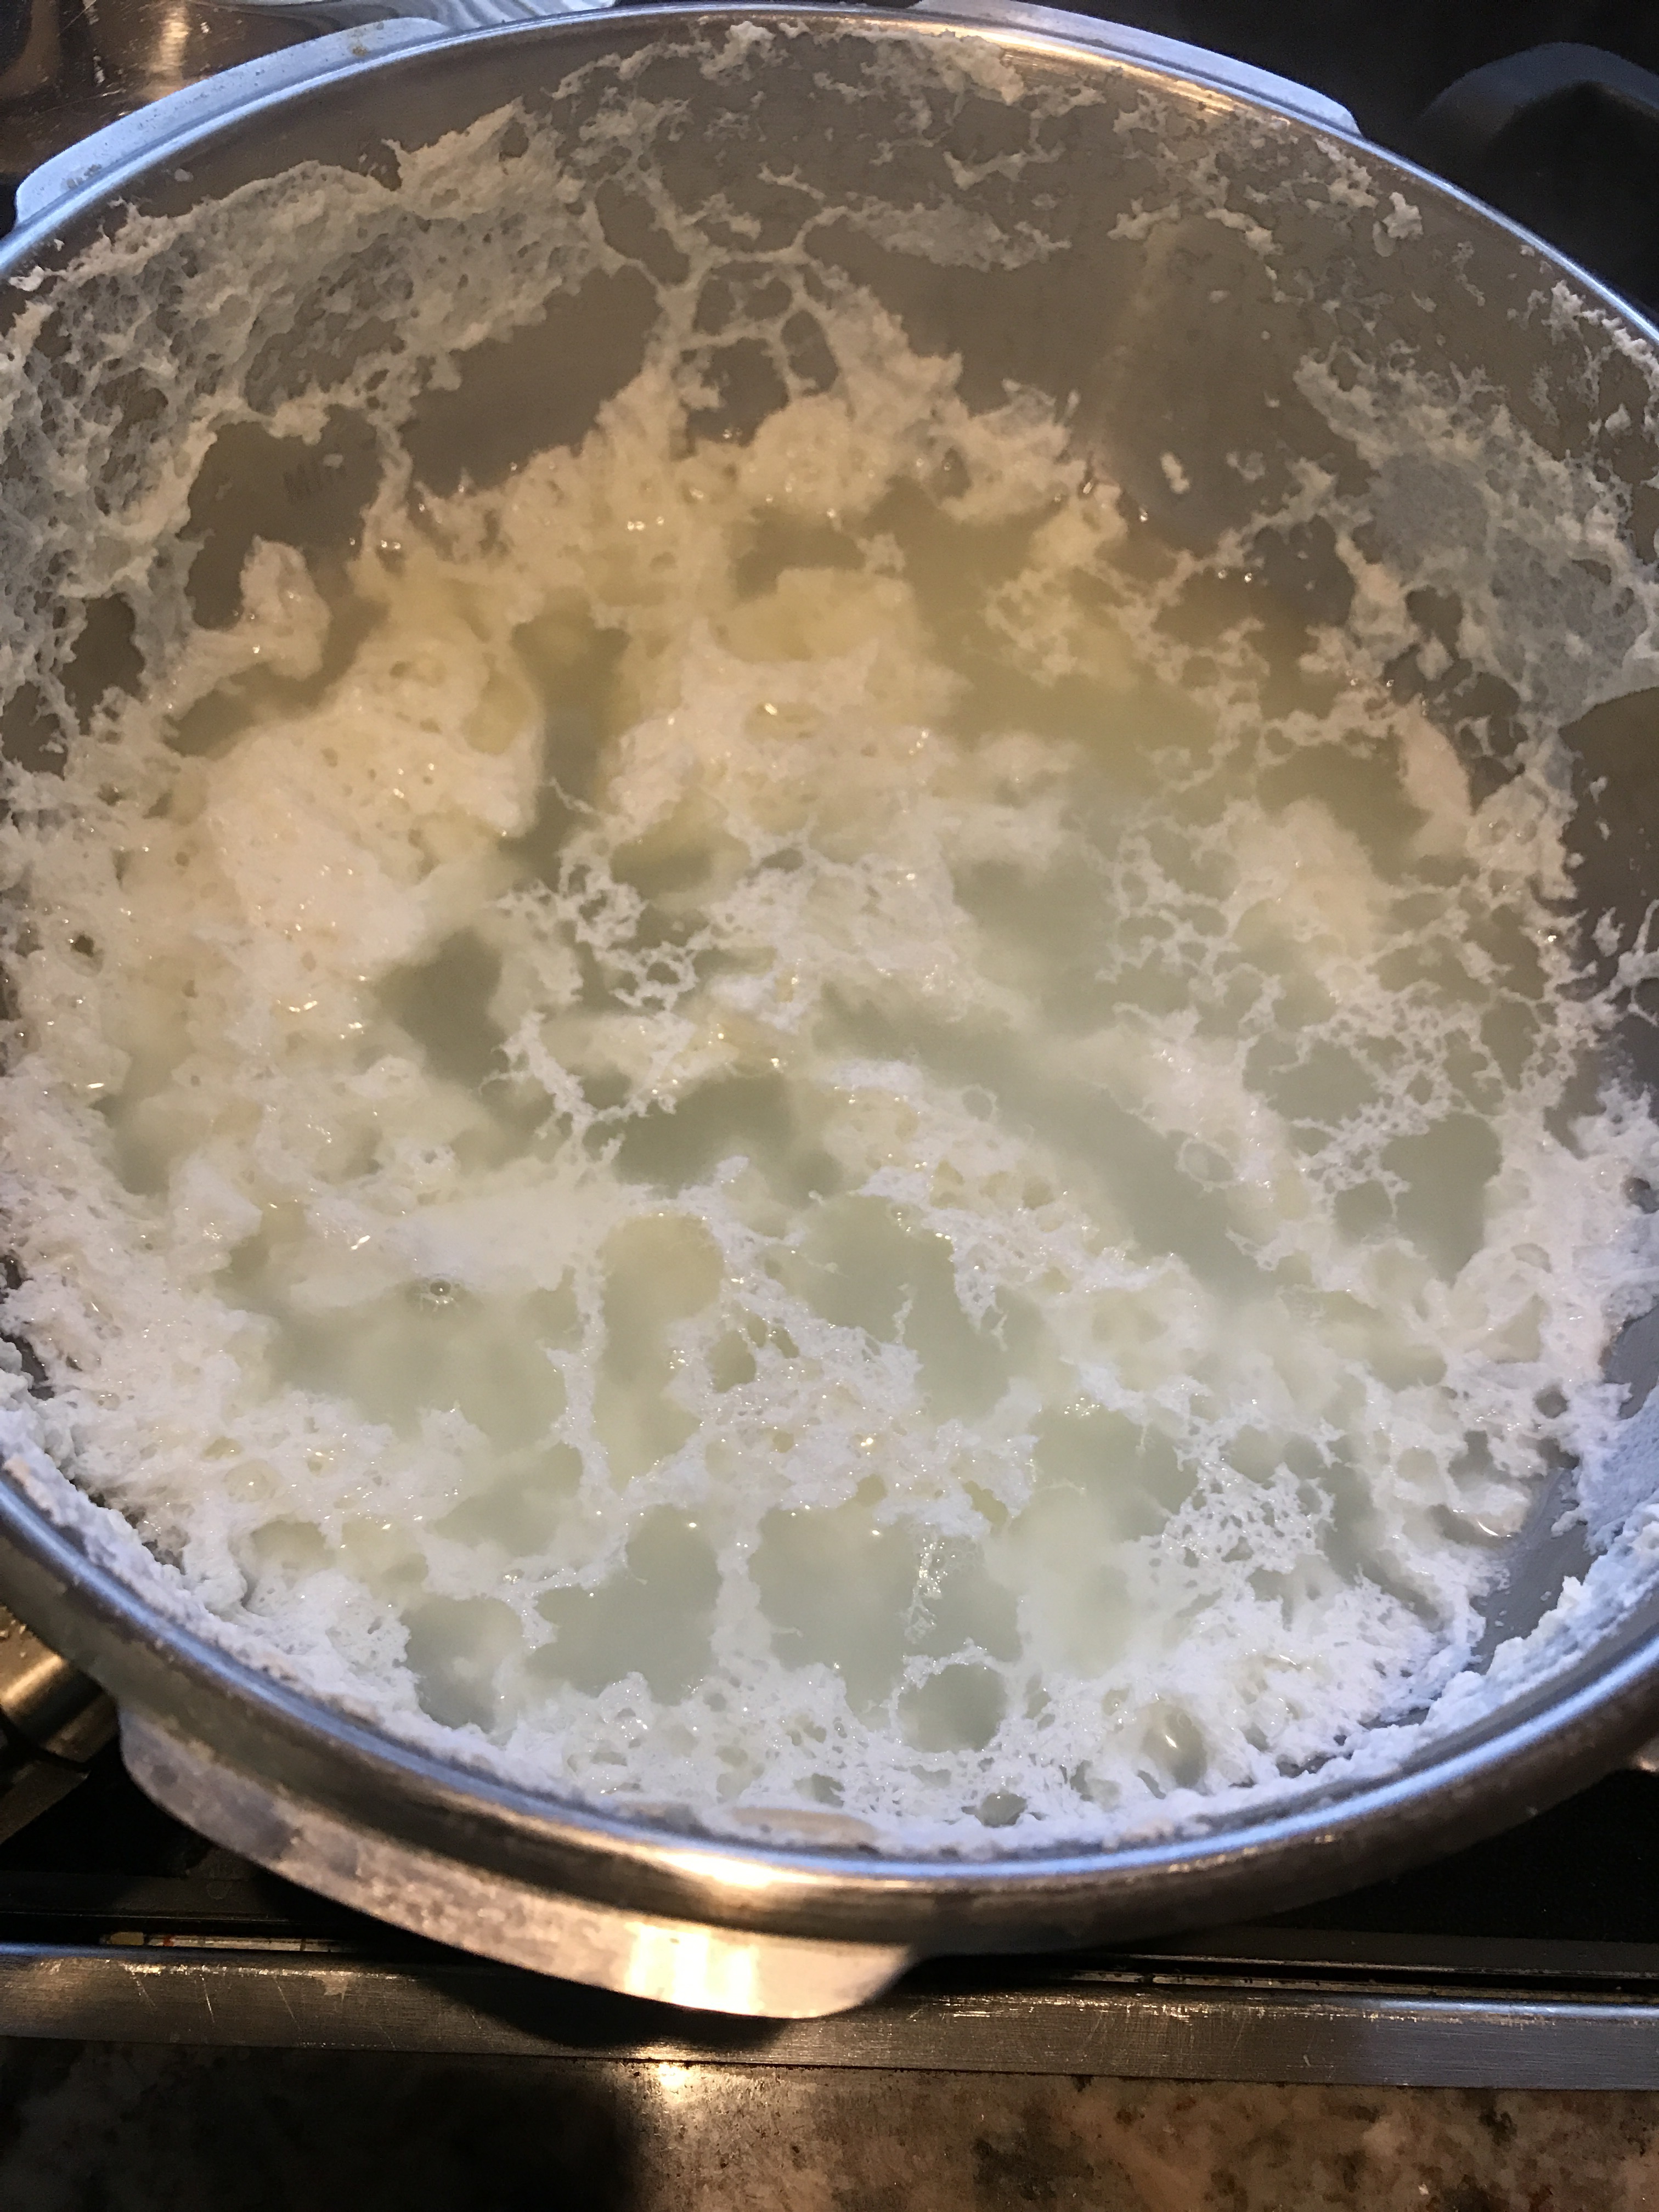
Add yogurt and pressure cook:
Add ½ cup plain yogurt to the milk. Close the lid, add the weight, and cook on high heat for 6 minutes or until 2 whistles—whichever you prefer, but stick to one method.
You may see a bit of milk spewing during the whistle. Just wipe it with a wet towel to prevent overflow.
Cool and strain:
Turn off the heat and let the pressure release naturally. Open the lid and scrape down any milk solids from the sides.
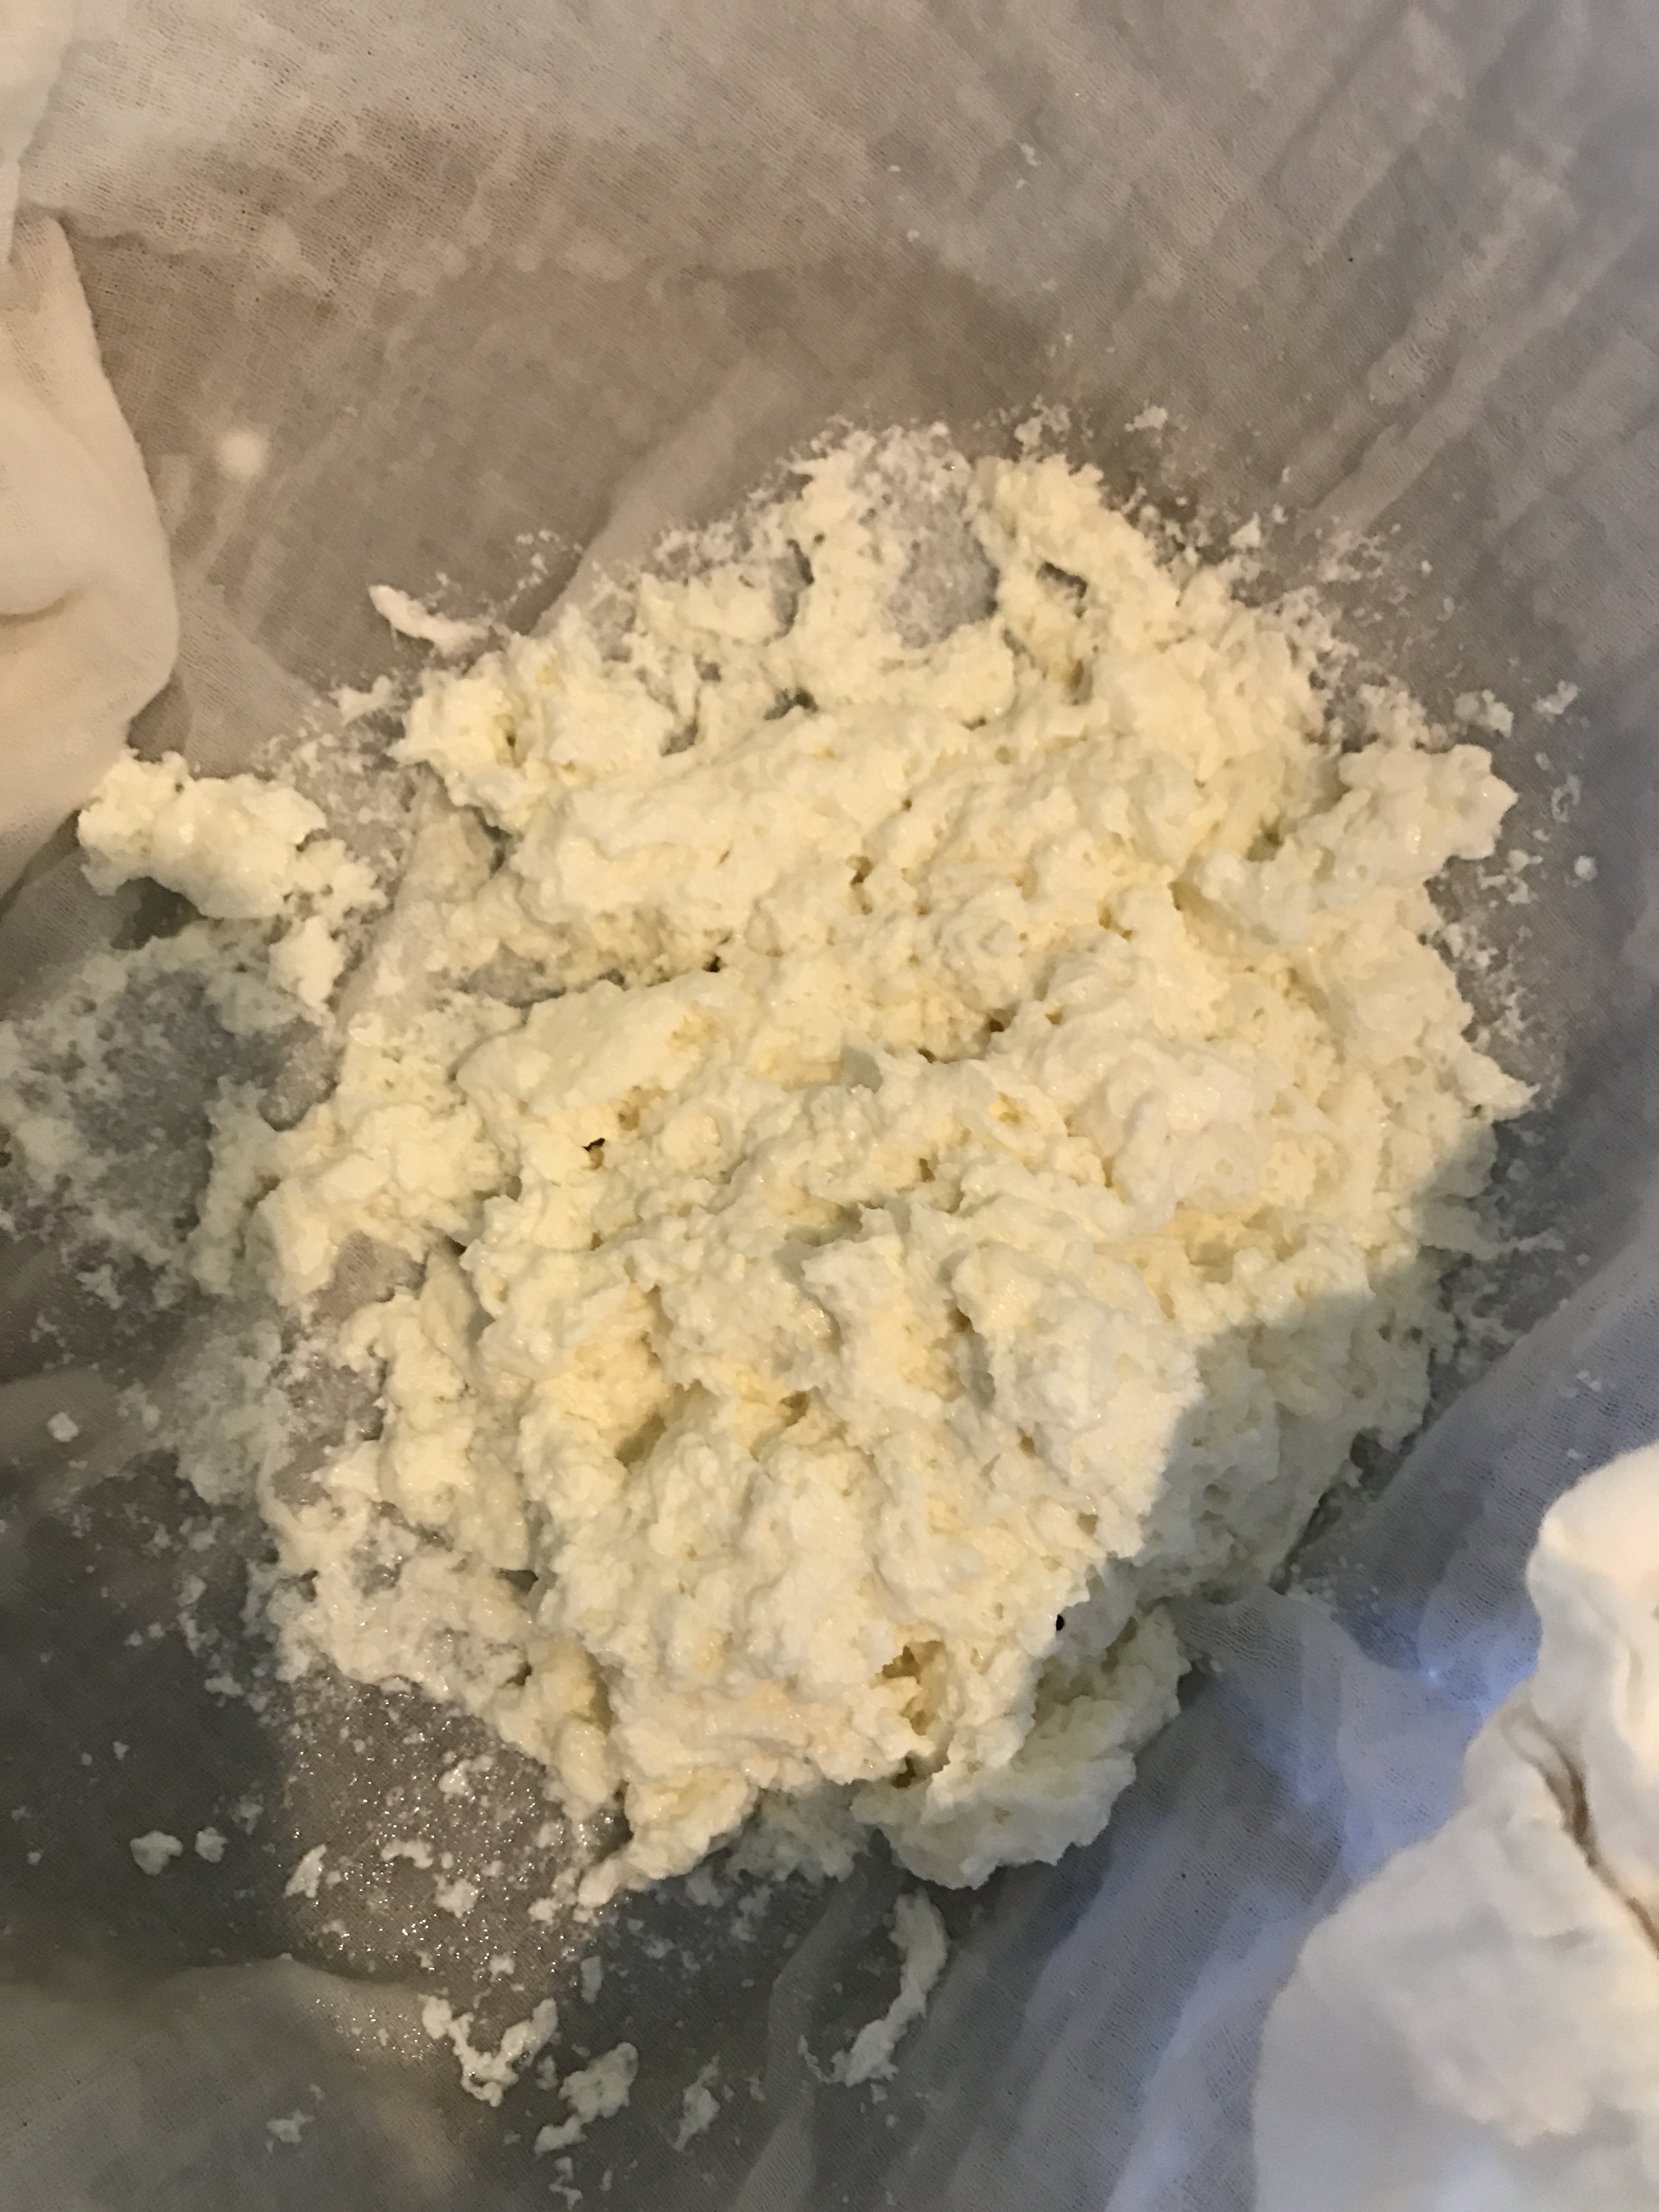
Separate curds and whey:
Place a strainer over a mixing bowl, line it with a cheesecloth or nut milk bag, and pour in the mixture.
Collect the whey in the bowl below—it’s great for kneading dough or adding to curries.
Gather the curds and squeeze out excess liquid.
Shape and press:
Gently knead the curds and shape into a round or rectangular block.
Place a flat plate over the cheesecloth, then add another plate and a weight on top to press and drain further.
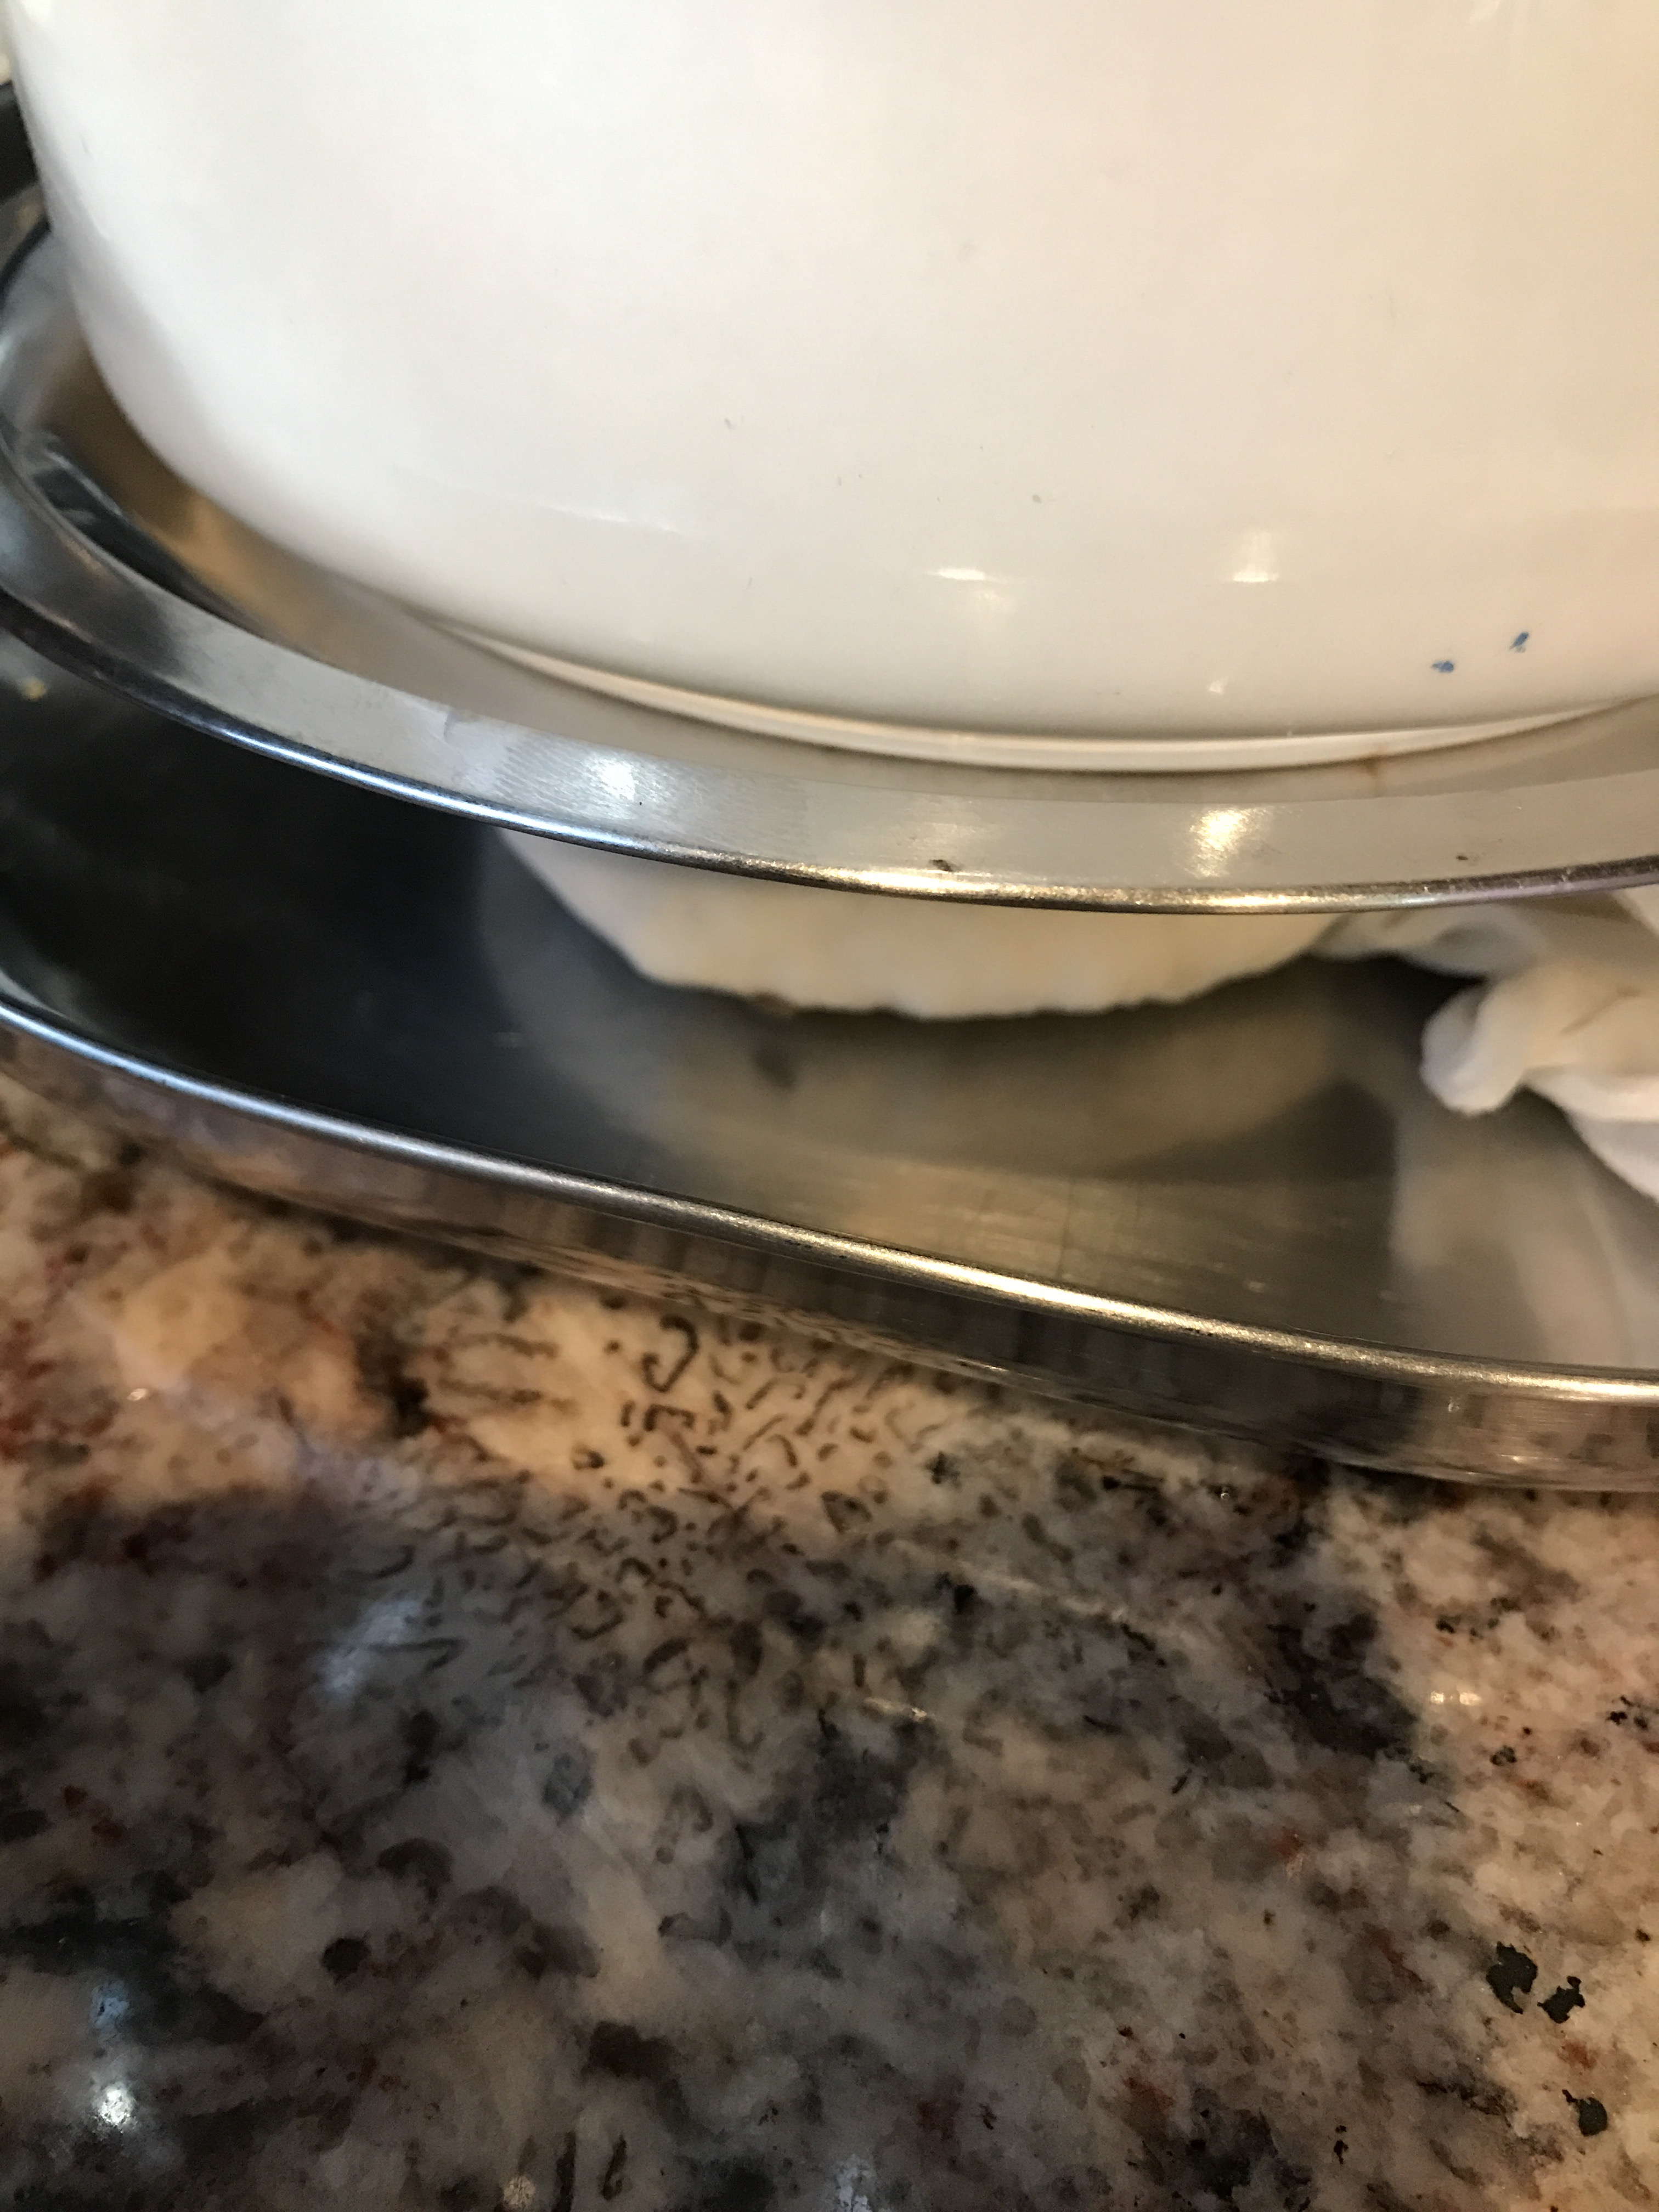
Set and store:
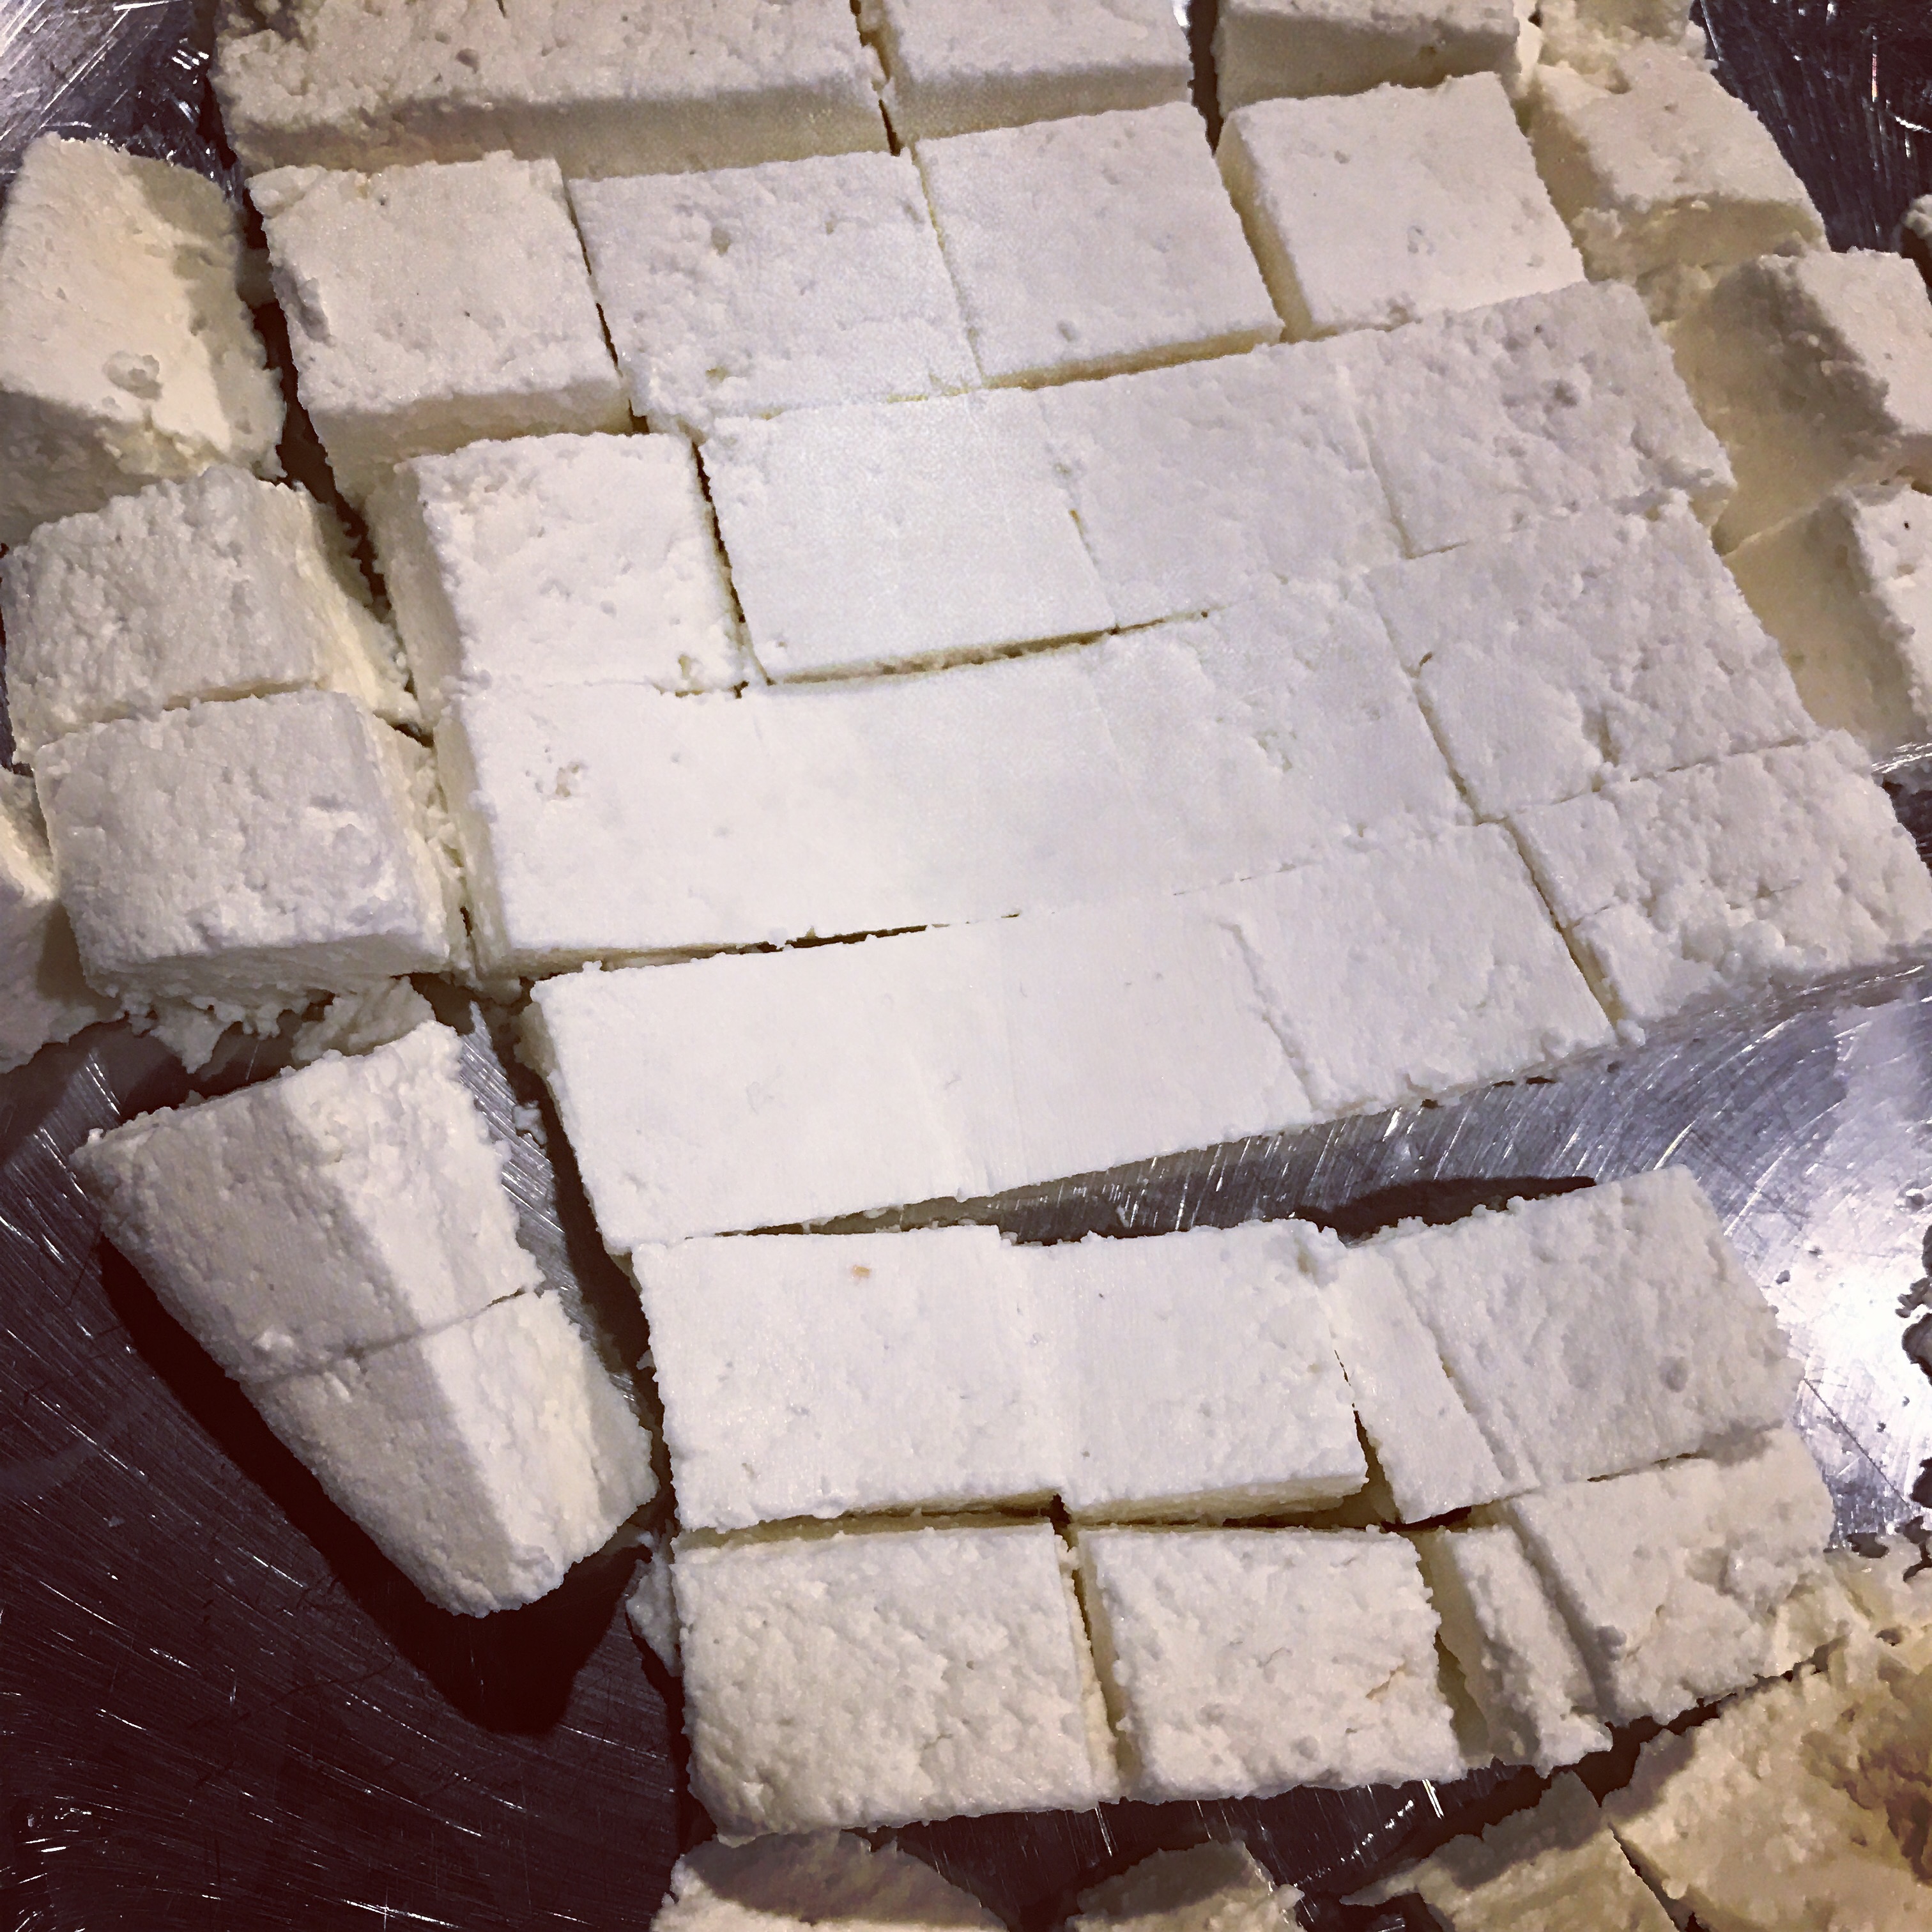
Let it rest for 45 minutes to 1 hour. Once set, cut into squares.
Use immediately, refrigerate for up to 2 days, or freeze for up to 2 months.
Final Thoughts
This method changed how I feel about making paneer—what used to be a chore is now a quick and satisfying process. Plus, there’s something so rewarding about making it fresh at home.
Tried it? Share your paneer-making success with #6MinutePaneer and tag me! Homemade never tasted this good—or this fast.